

Create Your Stripe
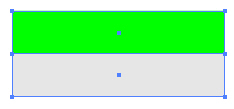
- Using the rectangle tool, draw a rectangle that represents on color segment of your stripes. It's not overly important to worry about length or thickness at this point.
- Copy the segment and move it directly below the original. It helps to have Smart Guides turned on for this alignment.
- Change the colors to make the stripe of your choice.
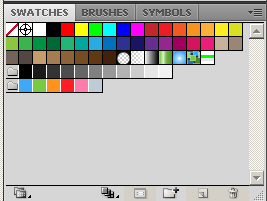
- Select both segments and drag them over to the Swatches pallet to create a new pattern swatch of your stripe.
Use Your Stripe
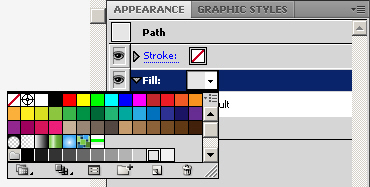
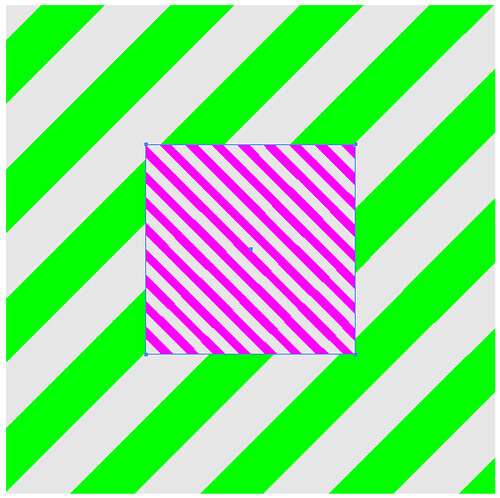
- Draw an object that you want to apply your stripe to. I have drawn a simple square.

- Go to the Appearance pallet and change the Fill to your newly added stripe.
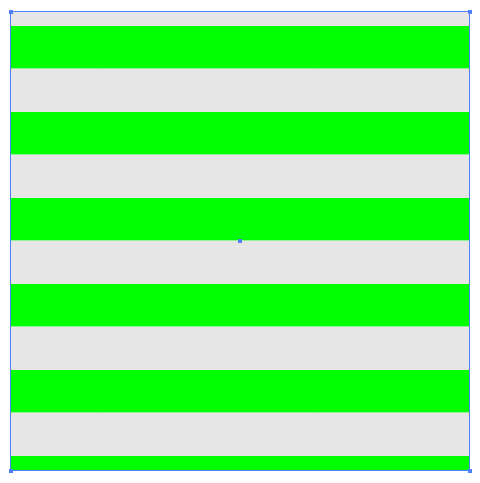
- Presto! Your object is now striped!
Rotate Your Stripe
An awesome thing about patterns in Illustrator is that they are not defined by the object or path they appear on. You can modify the pattern in many of the ways you can modify an object, and we're going to use that to rotate it 45 degrees.- Right click on the square and select Transform > Rotate
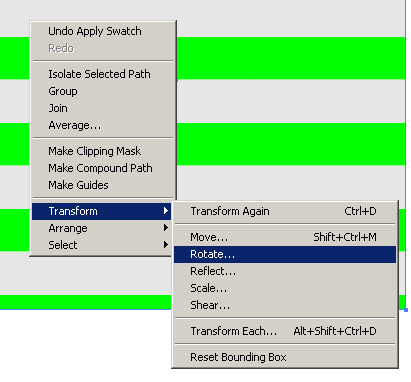
- When the dialog box appears enter your desired rotation of the stripes. If Preview is checked you'll notice that the entire object has rotated
- In Options, make sure to check the Patterns box and un-check the Objects box. Your object is now back where it started, but your stripes have been rotated 45 degrees.
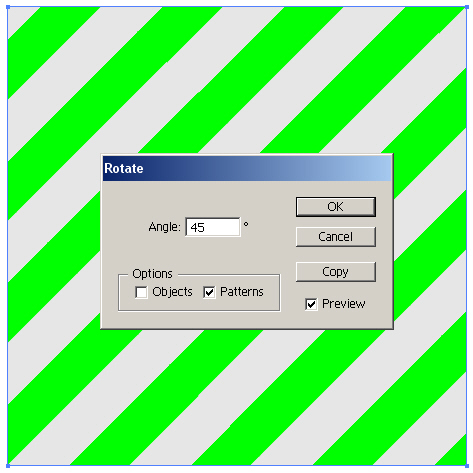
- Click OK
Transform it Some More!
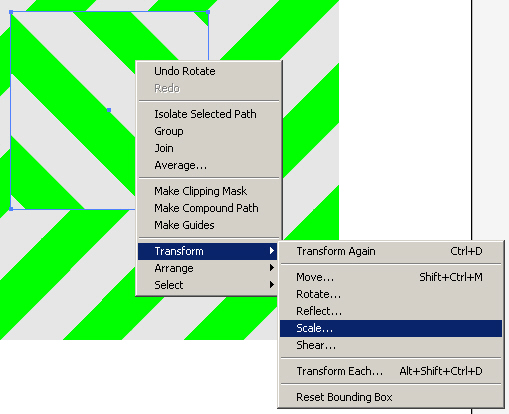
So that's great, it's a nice stripe. But what if I want to add another smaller stripe going the other way? Easy! We'll just apply the stripe again and transform its scale!- Draw a new object to receive the new stripe.
- Use the Swatches pallet to again apply the same stripe pattern as before.
- Now lets right click on the object and select Transform > Rotate
- Input 90 degrees and be sure that only Patterns is clicked in the Options box.
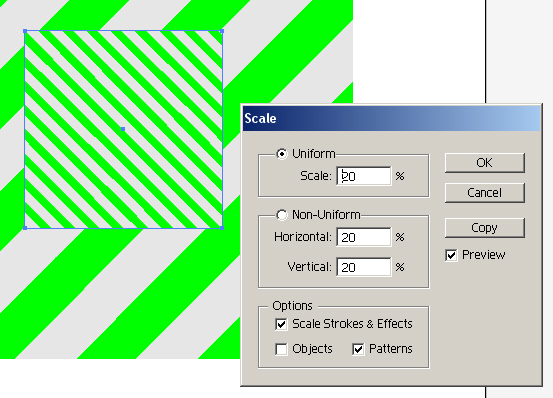
- Right click the object again and select Transform > Scale
- In Uniform, scale it down to 20%


No comments: